Getting Started
Campaigns
Campaign Editor
Images
Reports
Apps & Integrations
Standard Templates
App & Integrations
Mailchimp Transactional
Mailchimp Transactional is a service from Mailchimp that allows you to send emails on a transactional basis. For example, you can send an email for every donation. That's important as most mailing list integrations contain controls to prevent campaign emails being sent to recipients more than once.
Mailchimp Transactional was previously called Mandrill.
Make the connection
To use Mailchimp Transactional, you will need to have a Mailchimp account with at least one Transactional email block purchased.
You can find information on how to add MailChimp Transactional to your Mailchimp account here.
Step One - Create a Mailchimp Transactional API key
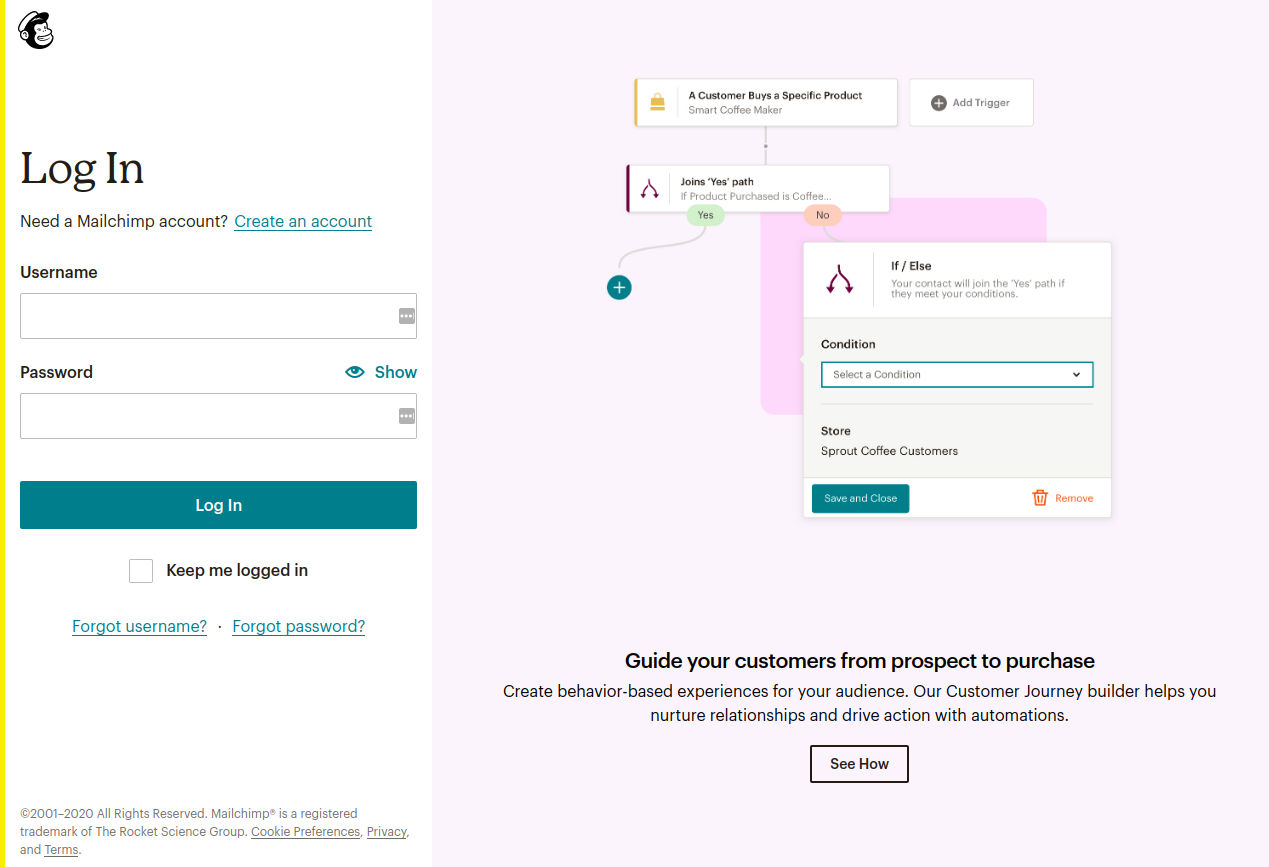
Navigate to mailchimp.com and press the Log in button on the top right.

Enter your username and password and press Log in.
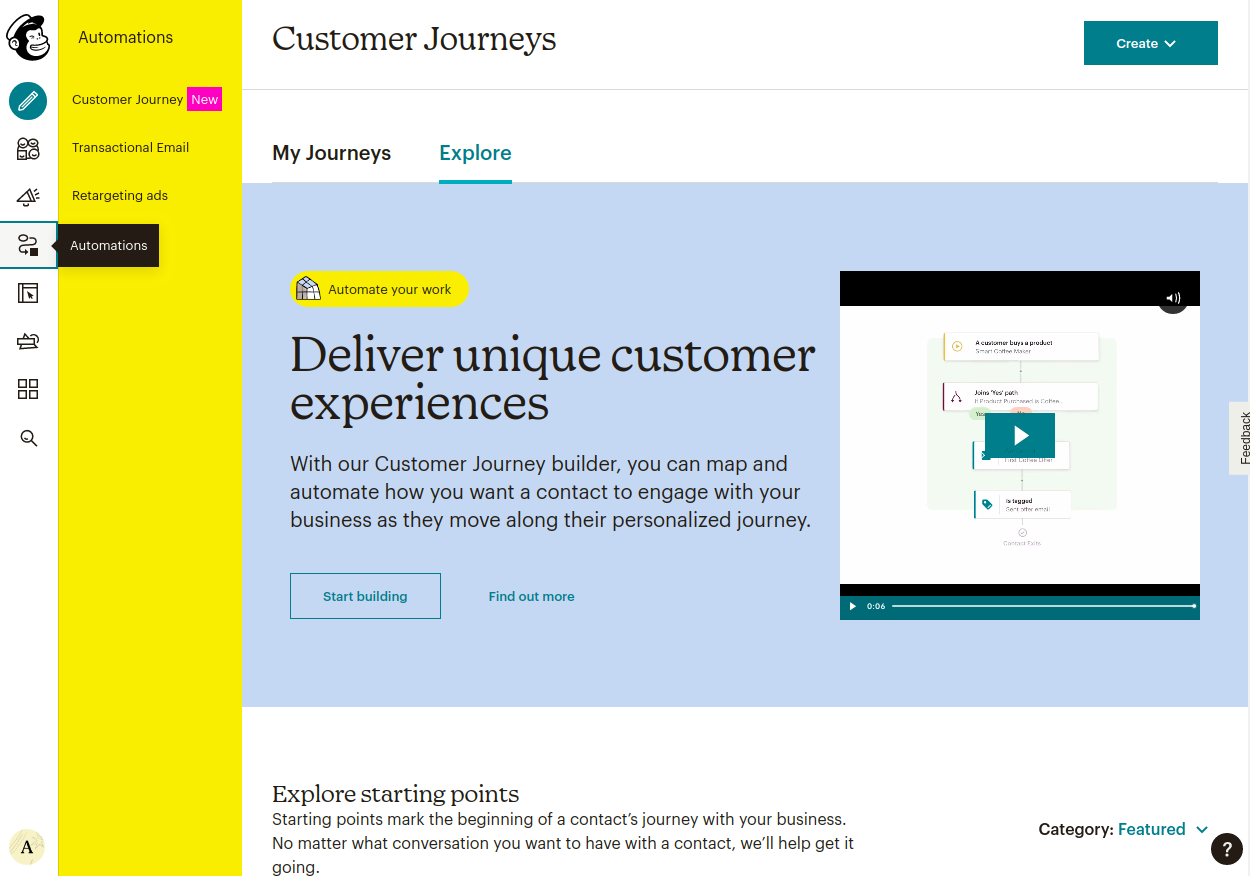
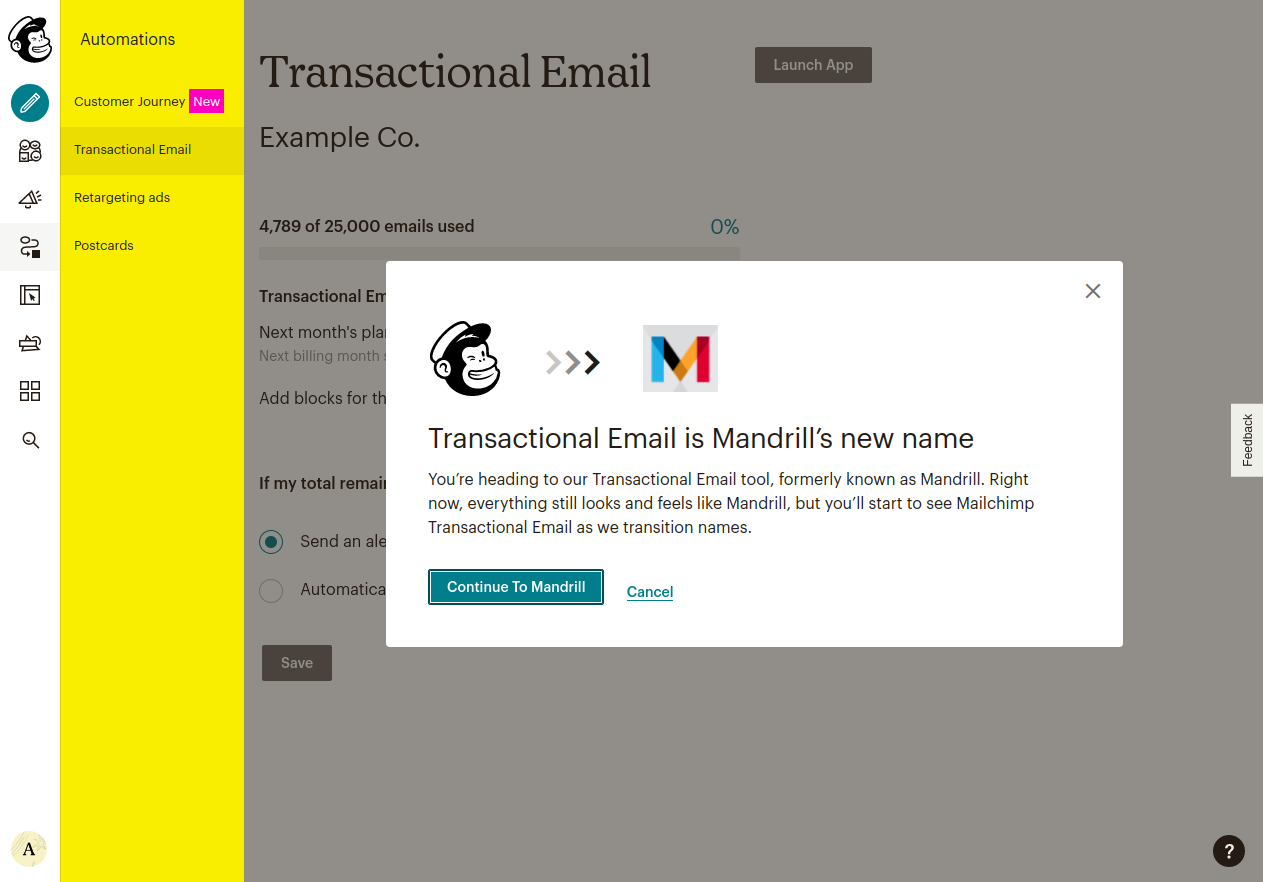
Hover over the icon with an arrow pointing from a circle to a box. It will say Automations. Click on it.
Select Transactional Email.
Press Launch App.
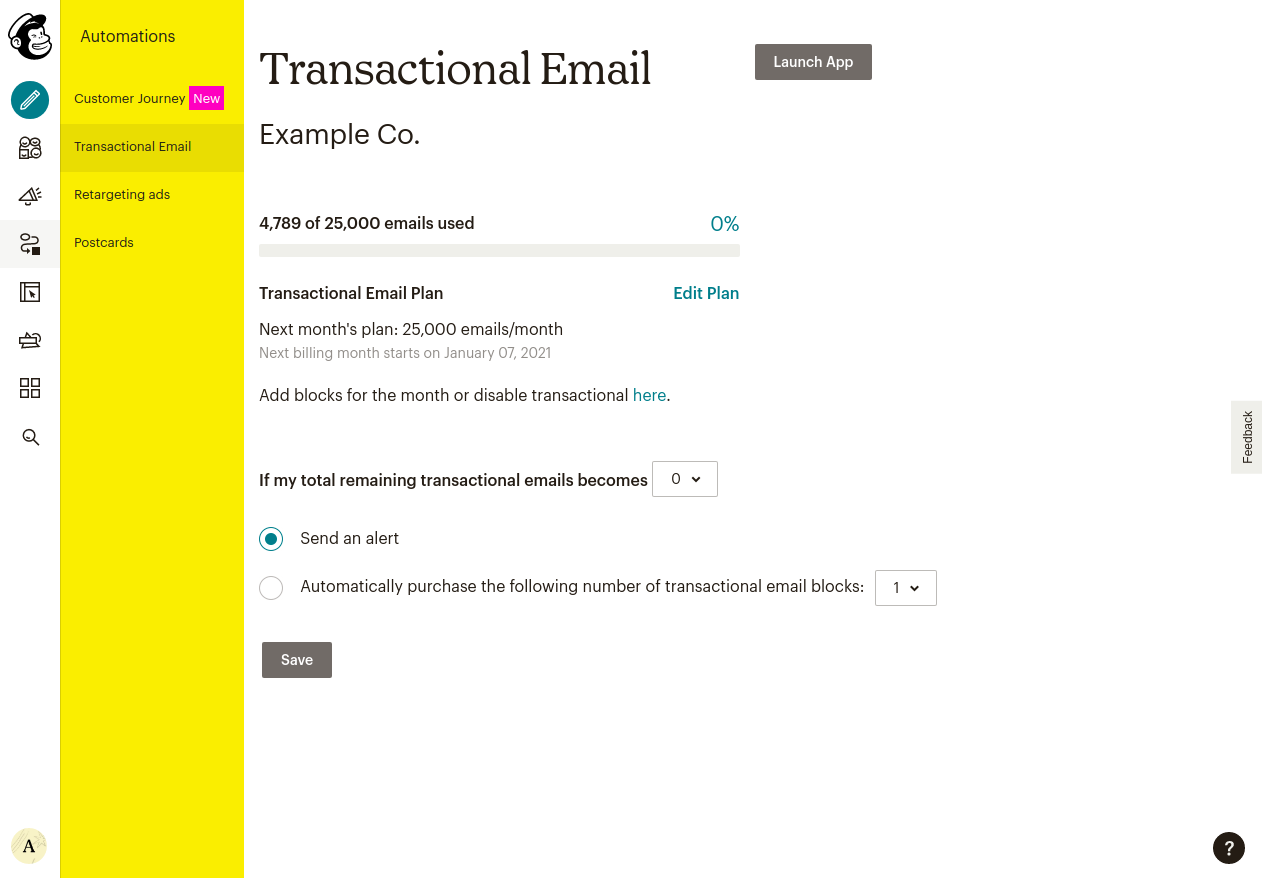
Press Continue to Mandrill.
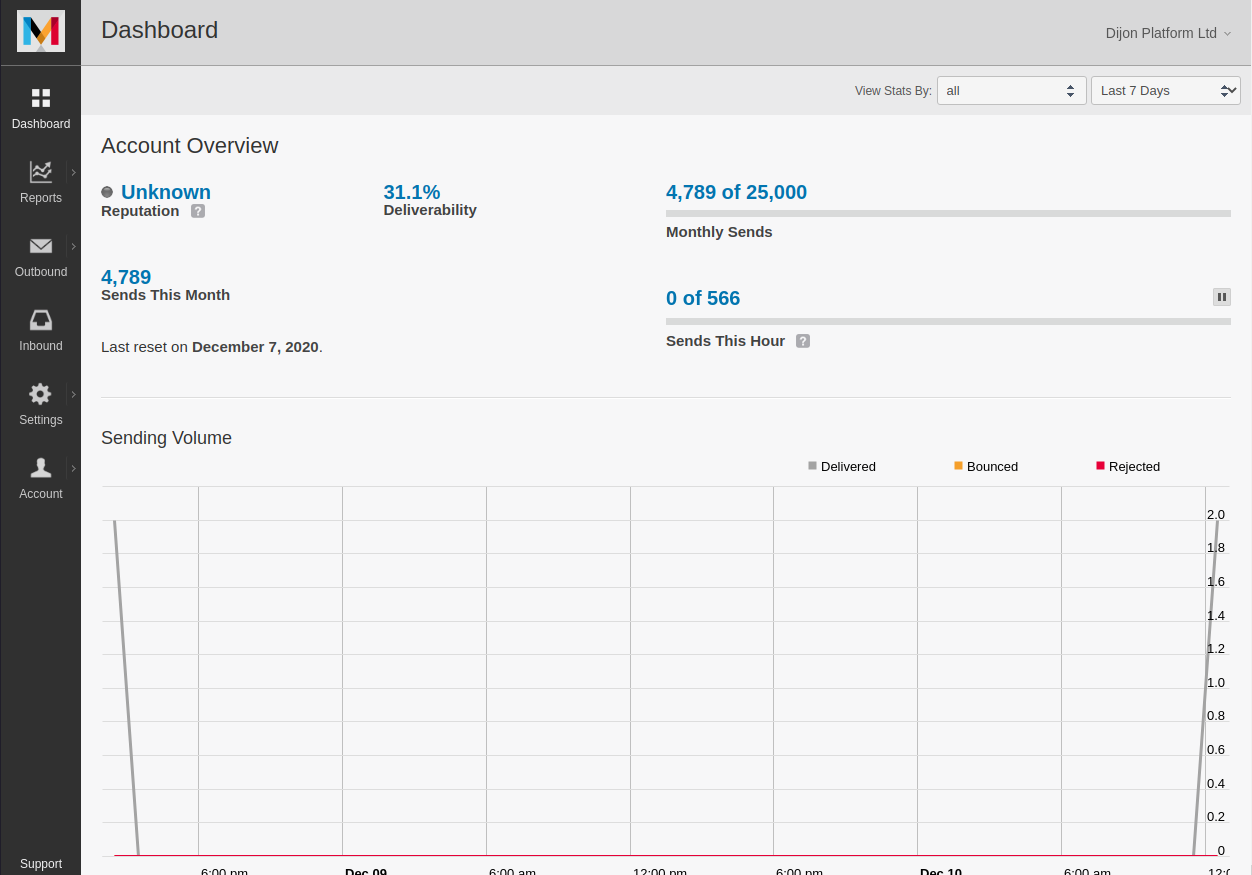
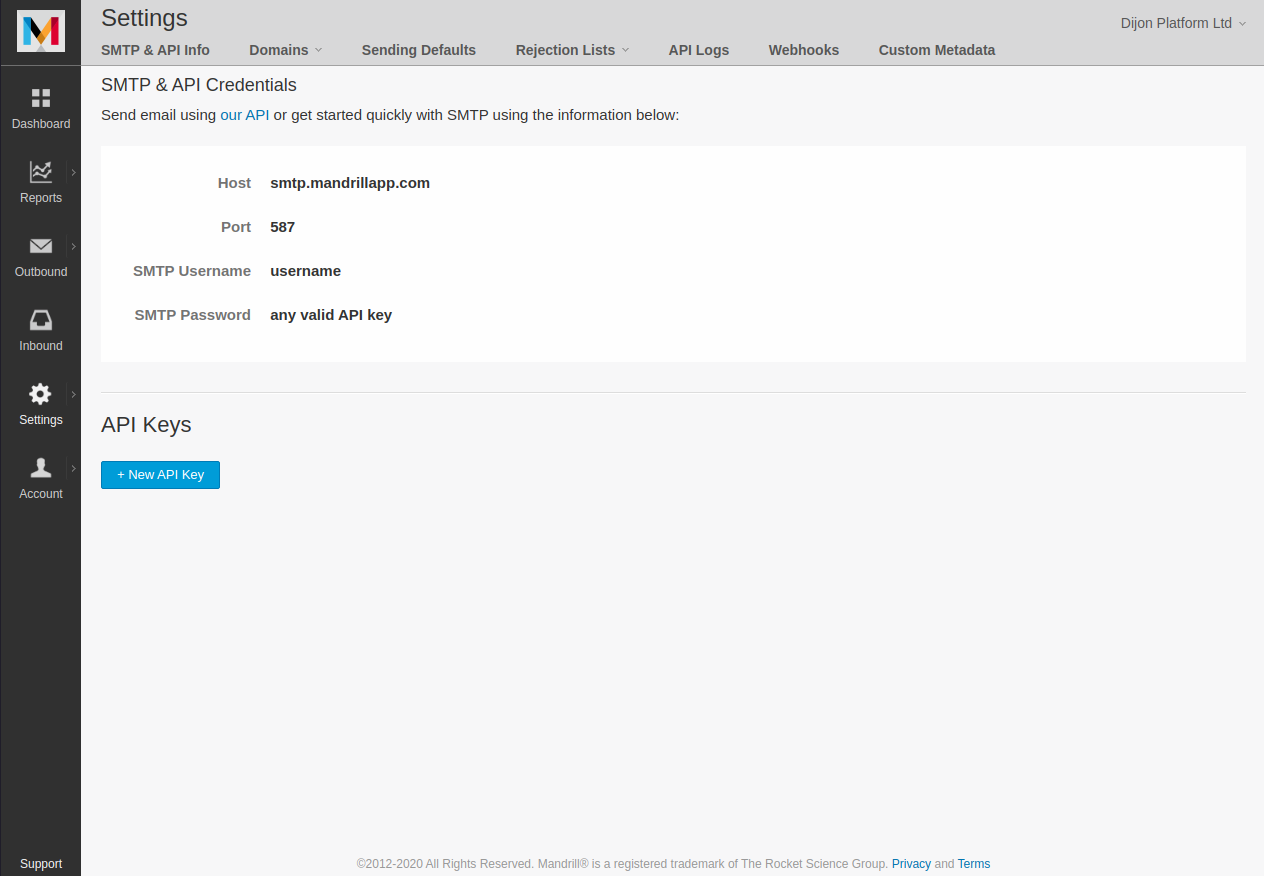
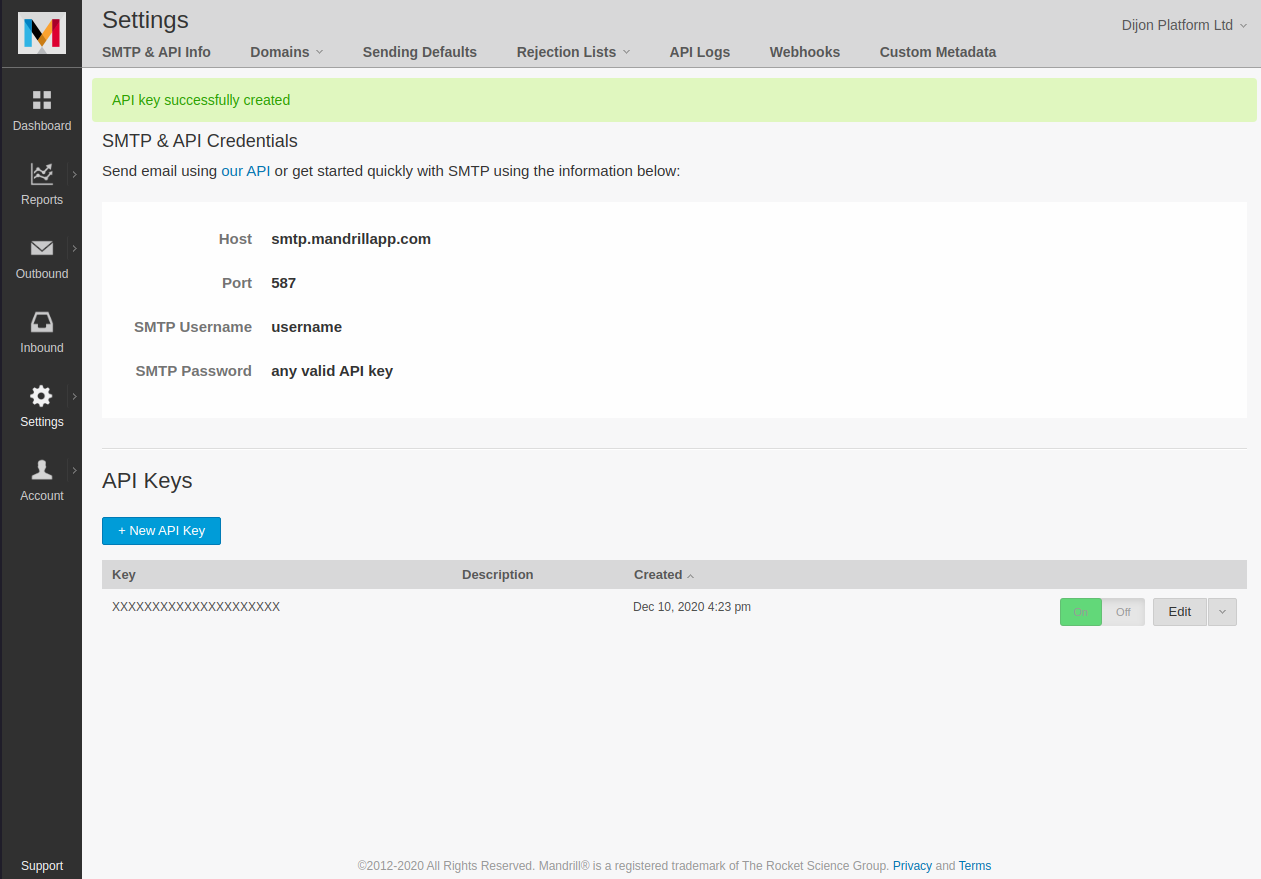
Press Settings in the left-hand menu.
Press + New API Key.
Enter a description and press Create API Key.
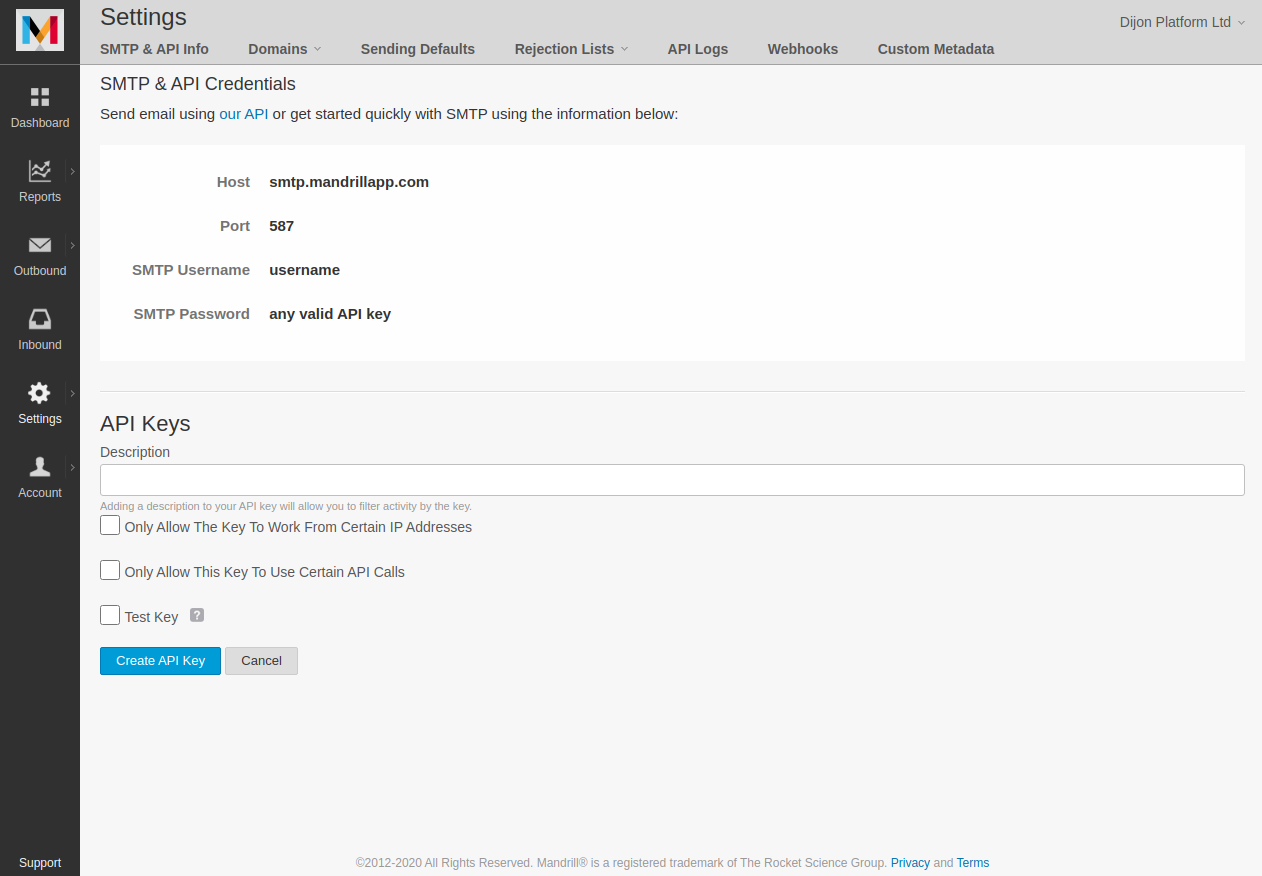
Copy the key underneath Key and put it somewhere safe.
Step Two - Sending email through Mailchimp Transactional
We have connected our Mailchimp Transactional account to Dijon Platform. We now need to configure the emails which get sent.
You will need to follow the instructions for adding a domain to Mailchimp Transactional. You need to set up your email sending domain inside Mailchimp Transactional; it is not enough to configure the domain inside Mailchimp.
Although complicated, you mustn't skip this step, as it will mean that your emails will end up in recipient's spam folders or not sent at all.
Step Three - Add the API Key to your Dijon Platform account
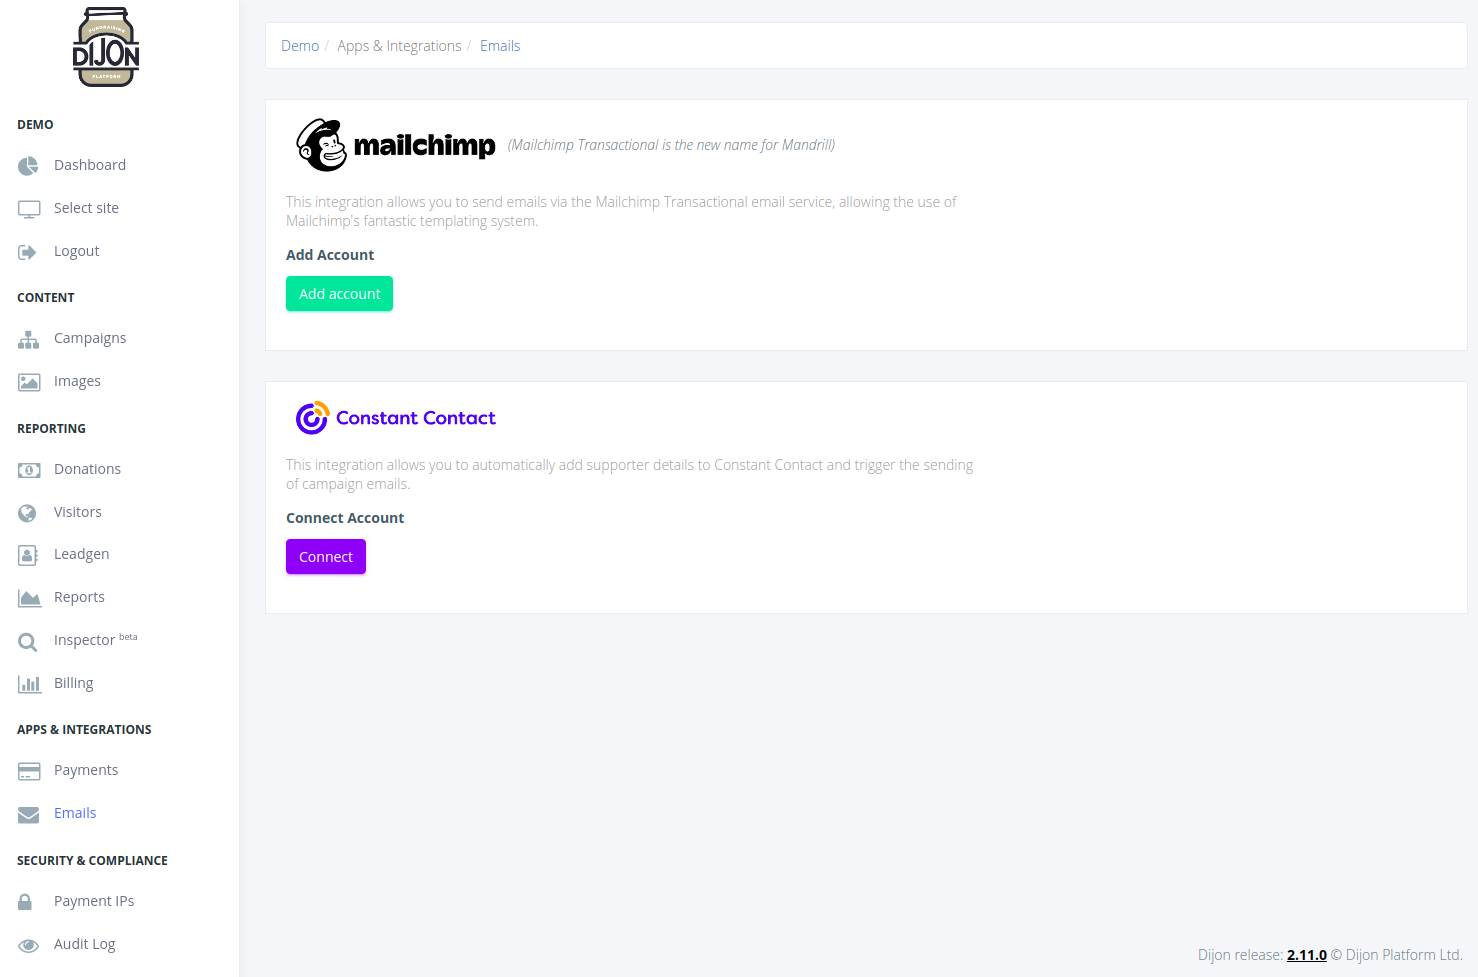
Log into your Dijon Platform account and select Apps & Integrations > Email.
Press the Add account button.
Enter a name for this Mailchimp Transactional account and paste in the key we grabbed from Mailchimp earlier.
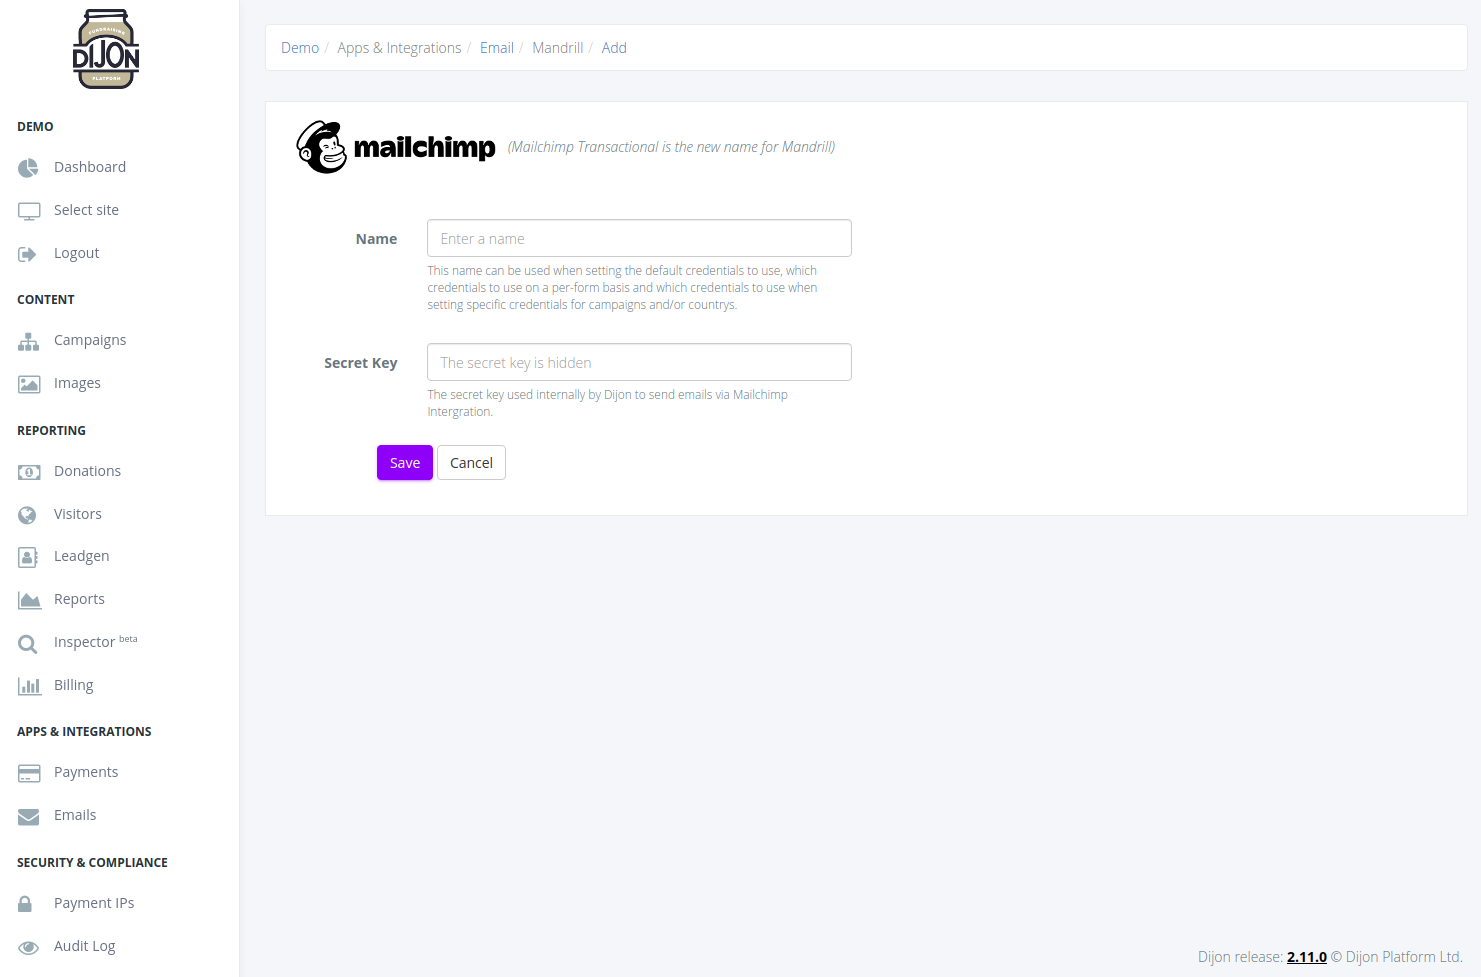
Press Save and your Mailchimp Transactional account is connected.
Copy a template from Mailchimp
We are describing the process of configuring a template in Mailchimp and moving it to Mailchimp Transactional here; however, you can use Mailchimp Transactional's template system if you want to. We prefer this method as it allows you to use templates in both Mailchimp and Mailchimp Transactional.
Navigate to mailchimp.com and press the Log in button on the top right.
Enter your username and password and press Log in.
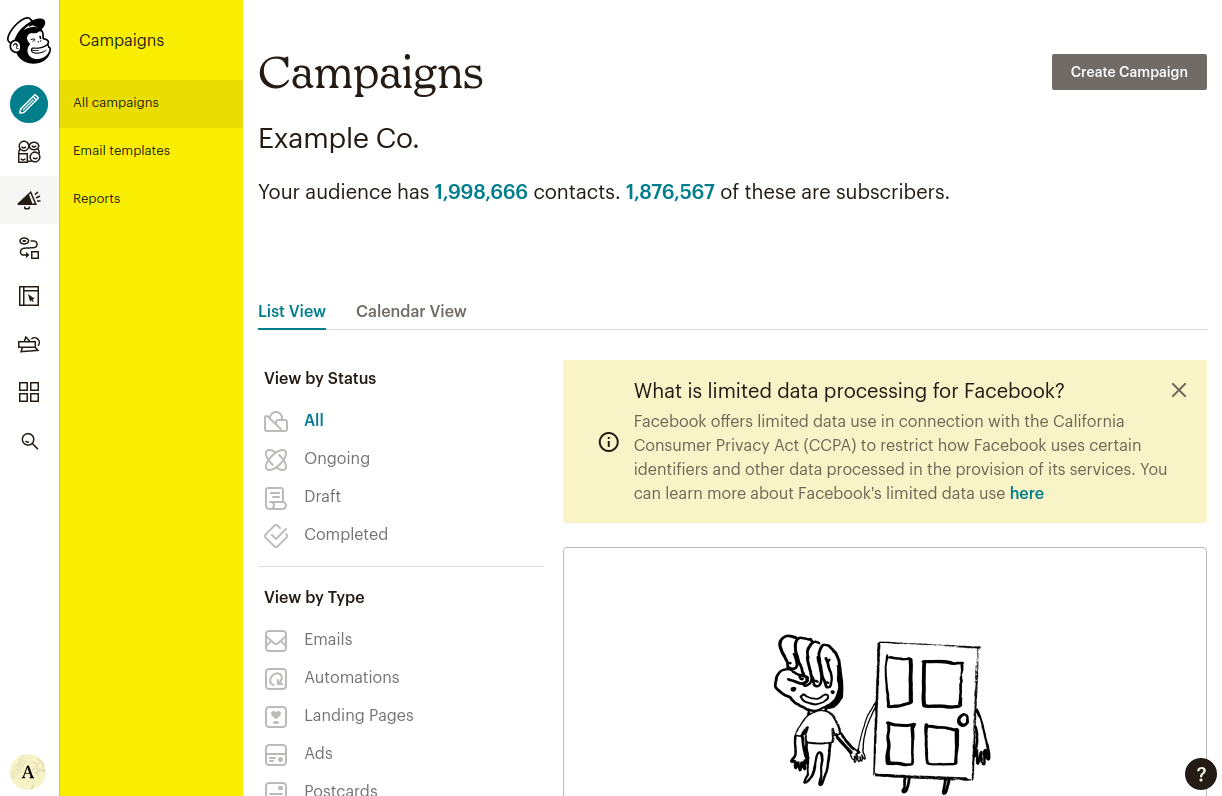
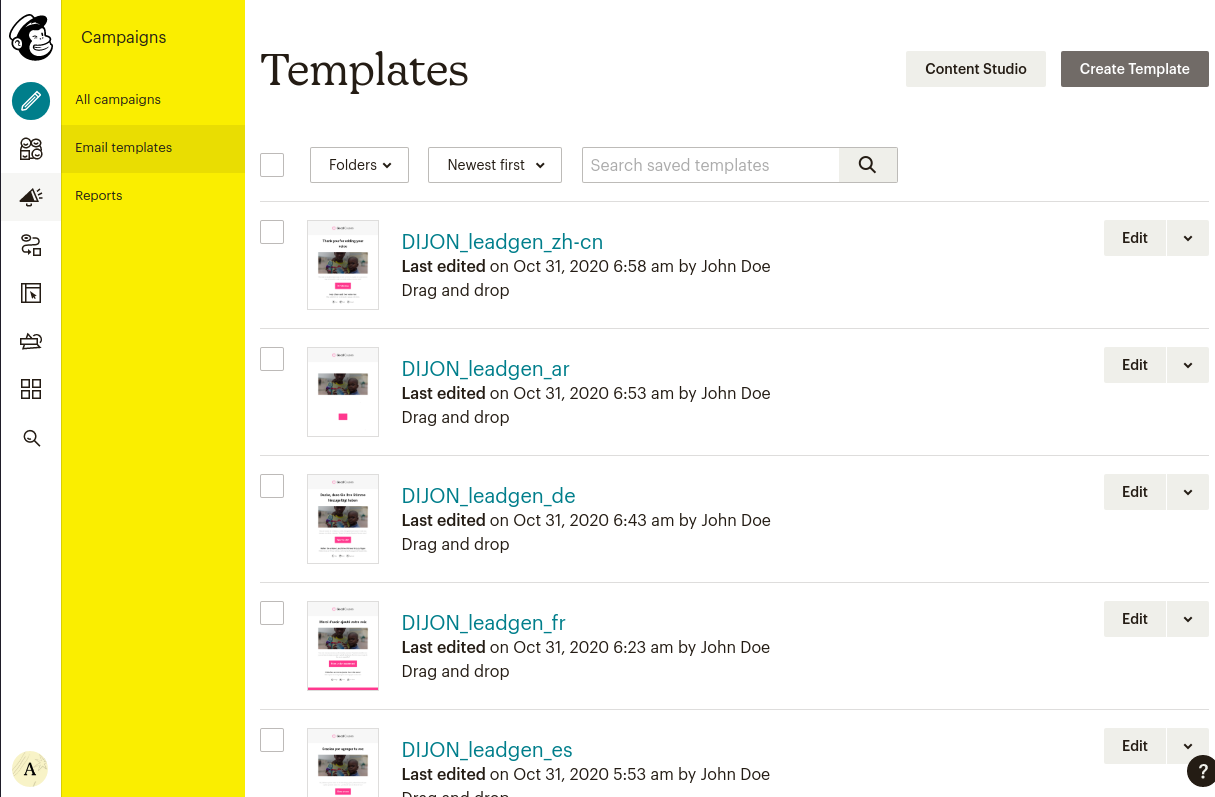
Click on the loud-hailer icon Campaigns.
Click on Email templates.
You can create and edit templates here.
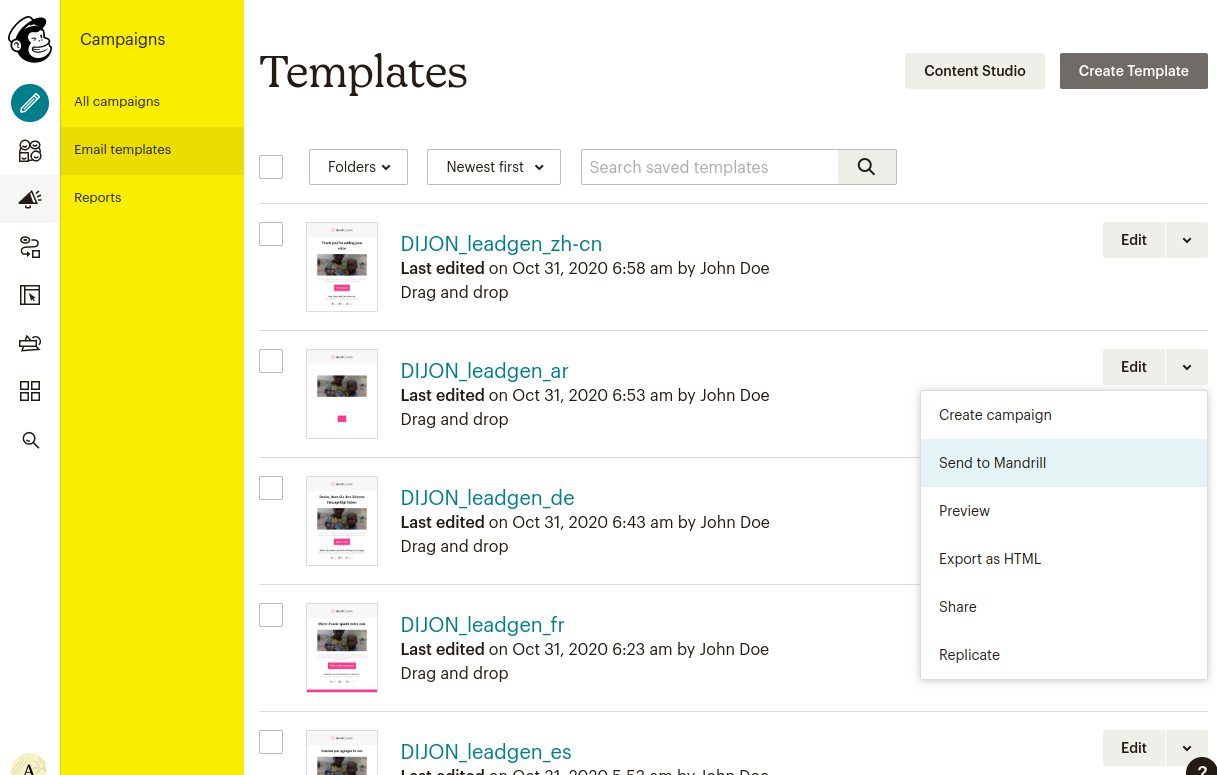
Once you are happy with your template you can press the drop down arrow next to the template you want to send to Mailchimp Transactional and select Send to Mandrill.
Editing templates in Mailchimp Transactional
Navigate to mailchimp.com and press the Log in button on the top right.
Enter your username and password and press Log in.
Hover over the icon with an arrow pointing from a circle to a box. It will say Automations. Click on it.
Select Transactional Email.
Press Launch App.
Press Continue to Mandrill.
Press Outbound in the left-hand menu.
Press Templates in the top menu.
Press Templates in the top menu.
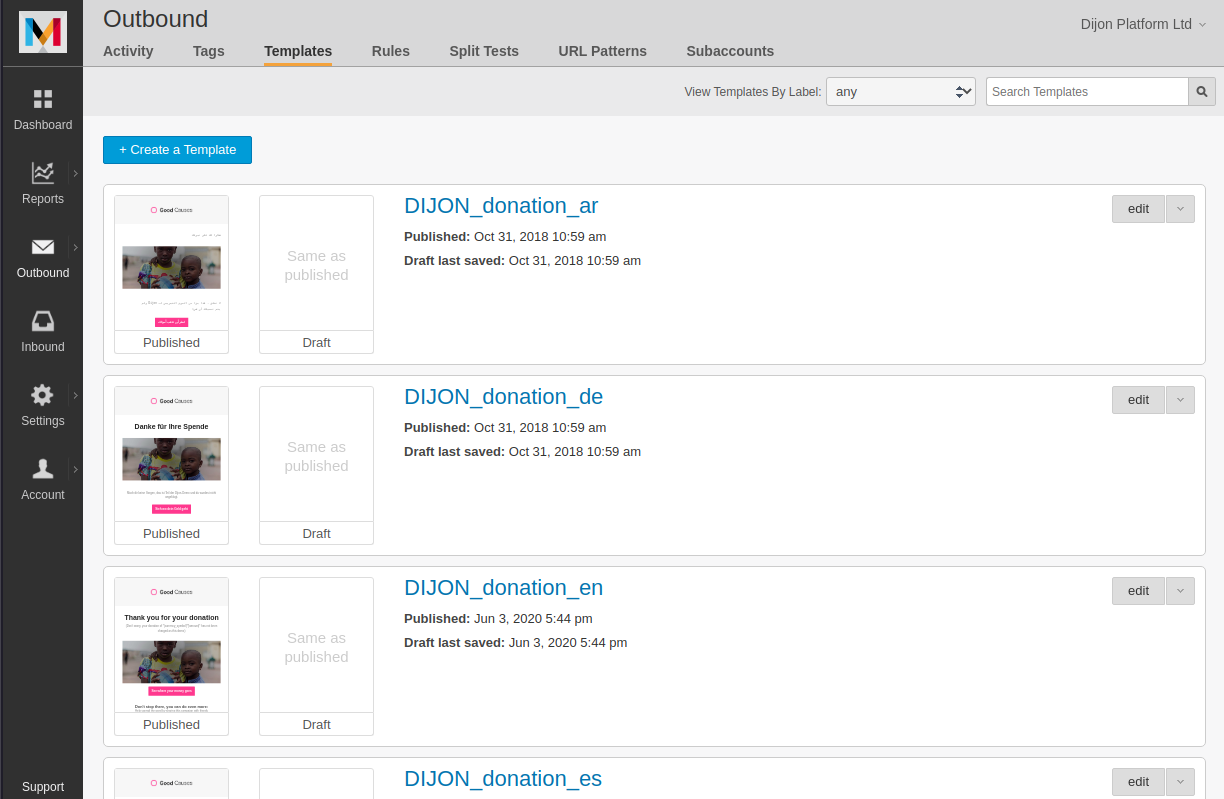
You are now presented with the list of templates. Press edit to view.
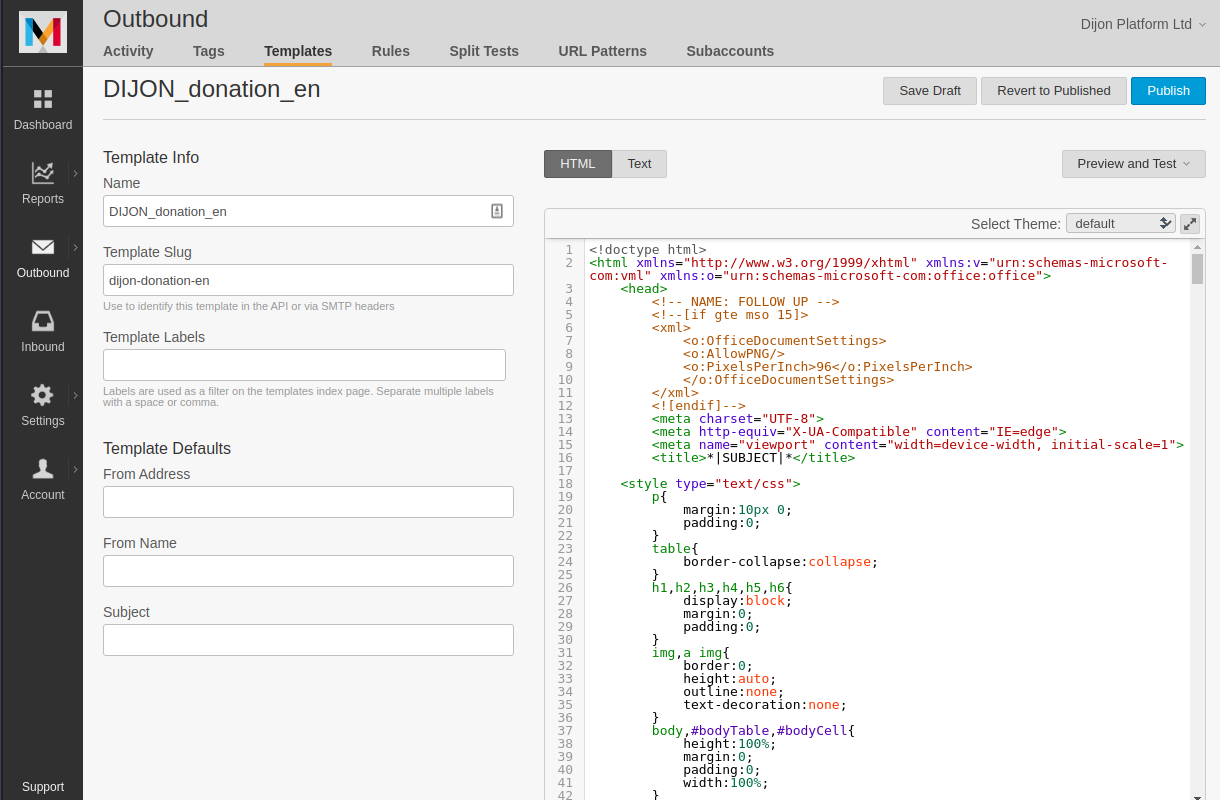
Although you can set default from addresses, from names and from subject here, these can be set in the Dijon Platform administration menu.
Take a note of Template Slug for as you will need this later.
Configuring templates in Dijon Platform
We will now configure a default template, email sender name, address and subject.
Log into your Dijon Platform account. Scroll down to Settings > Email and click.

Press Add.
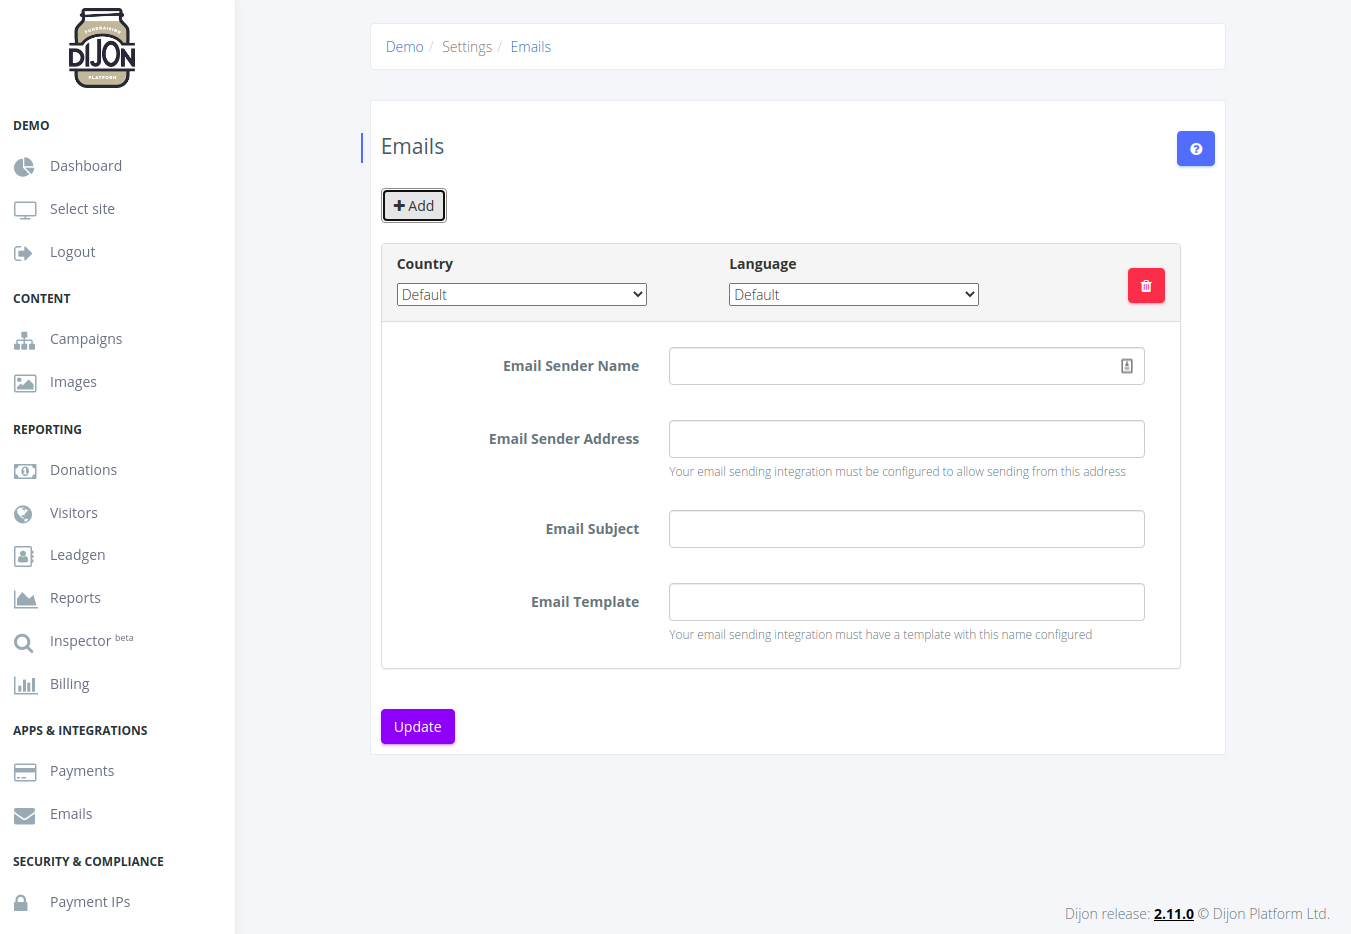
Leave Country as Default, Language as Default.
Enter the details that you require here.
- Email Sender Name the name that appears in the From field in the email.
- Email Sender Address to the email address you want the email to come from.
- Email Subject the subject of the email
- Email Template the Template Slug we got earlier.
Press Update to save.
You can configure more specific settings by pressing add, allowing you to set defaults for all supported languages and countries and combinations.
It is also possible to set even more specific settings and override the template for each campaign. This can be found in the Settings section while editing a campaign.
Available mail merge variables
The following variables are available to include in the template.
| Name | Description | ||||||||
|---|---|---|---|---|---|---|---|---|---|
|
*|CURRENCY|* *|currency|* |
The three letter country code for the currency that is used | ||||||||
|
*|CURRENCY_SYMBOL|* *|currency_symbol|* |
The symbol for the currency | ||||||||
|
*|AMOUNT|* *|amount|* |
The amount in the currency | ||||||||
| *|TYPE|* |
|
||||||||
| *|LANGUAGE_CODE|* | The two letter language code | ||||||||
| *|LANGUAGE|* | The native language name | ||||||||
| *|LANGUAGE_ENGLISH|* | The language name in English | ||||||||
| *|COUNTRY_CODE|* | The two letter country code | ||||||||
| *|COUNTRY|* | The country name | ||||||||
| *|CAMPAIGN|* | The campaign name | ||||||||
| *|PAGE_PATH|* | The relative path of the campaign page | ||||||||
| *|PAGE_URL|* | The path of the campaign page | ||||||||
| *|DOMAIN|* | The domain of the campaign page | ||||||||
| *|FIRST_NAME|* | The donor first name | ||||||||
| *|NAME|* | The donor's full name |